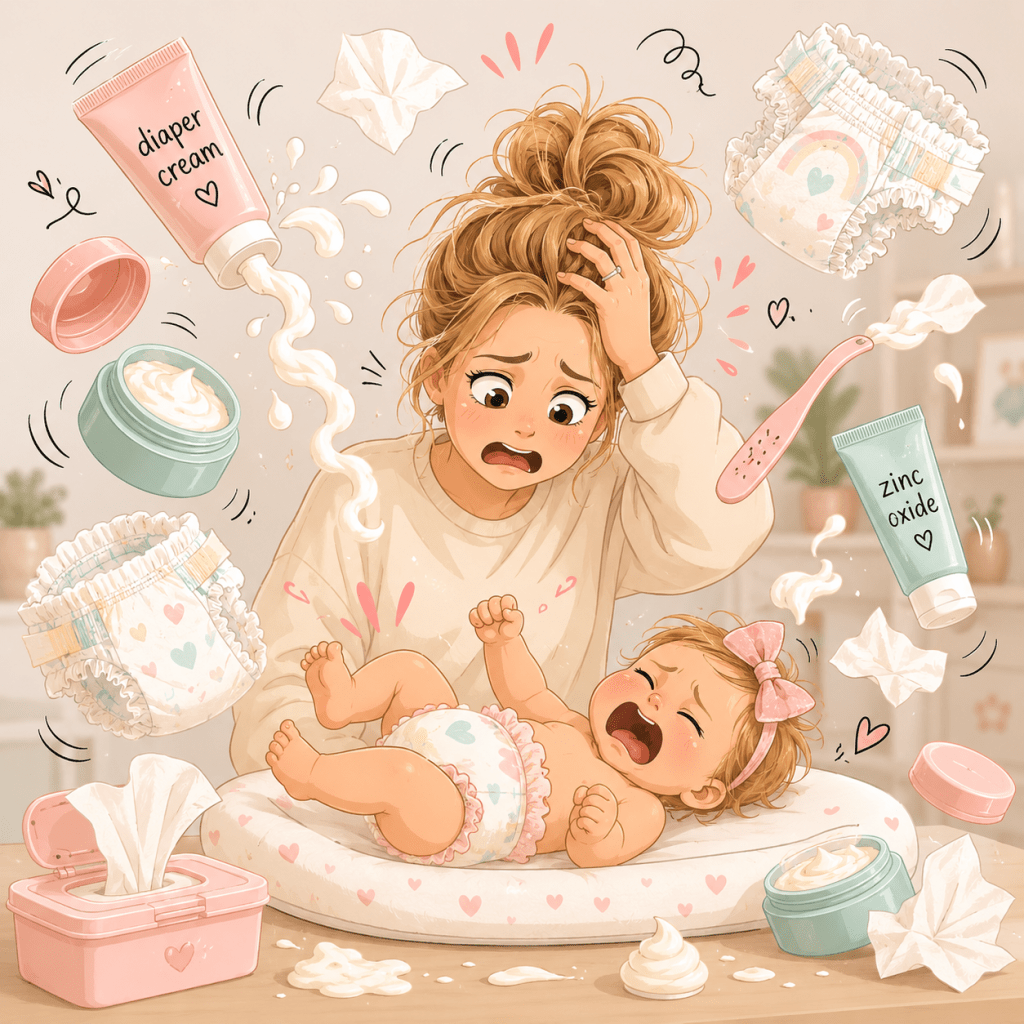
The trembling, shaky body, clenched fists, and red-faced cries of a baby whose diaper area is in pain are absolutely heart-wrenching. As a parent, it can feel like the very thing you need to do to help them—cleaning the area—only causes them even more discomfort.
Diaper rashes and yeast infections can be an absolute nightmare, especially when they keep coming back or never seem to fully go away. I hope that one day the memories of my baby’s pain during those difficult weeks will fade. But for now, I want to share what I found to be the most effective ways to help soothe and heal a baby’s diaper rash.
First off, please be sure to seek a pediatrician’s guidance for severe rashes, open sores and suspected infections.
The “Cake and Crust” method
This is a lifesaver when it’s done correctly.
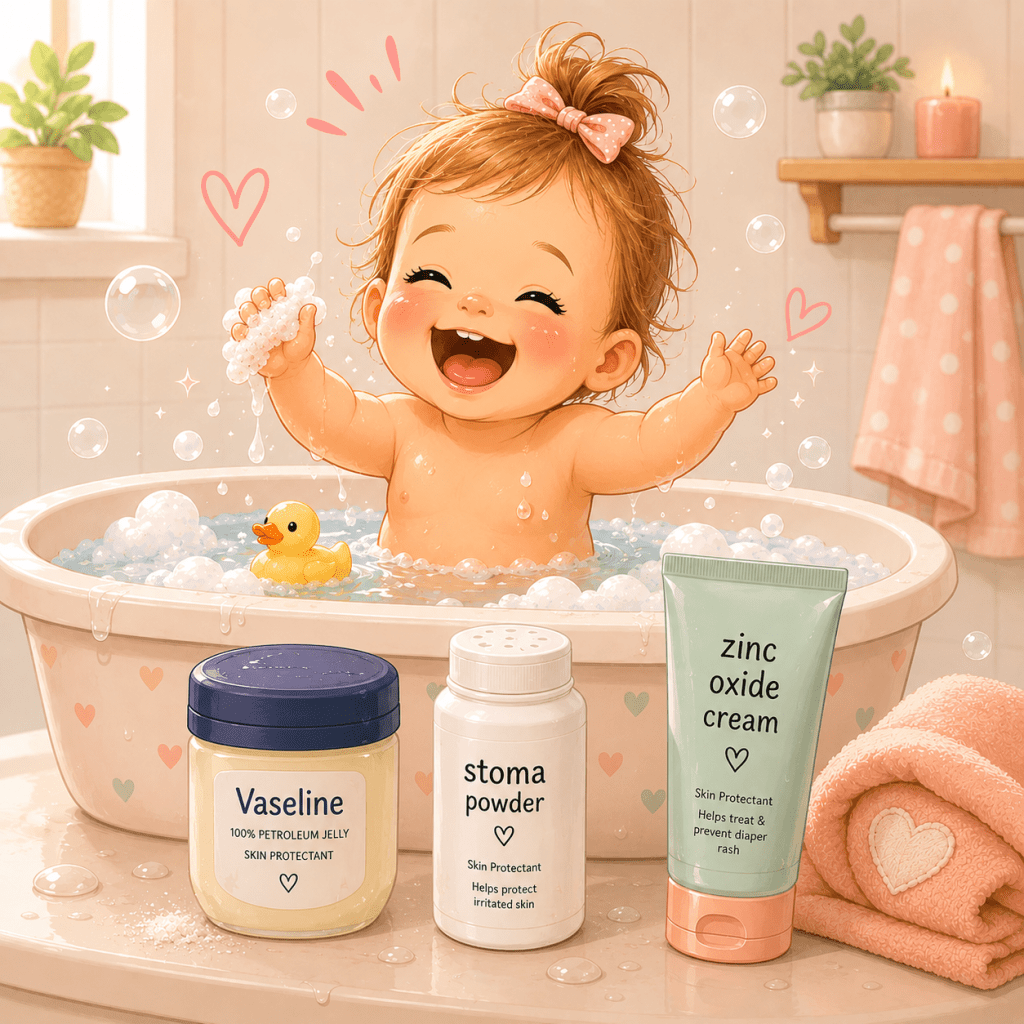
As soon as you notice redness and can tell it’s causing your baby pain, put the wipes down. If possible, start running a warm bath and place your baby right in the tub. Try to avoid wiping the diaper area altogether and instead use warm water and a peri bottle if needed to help clean the area.
Even sensitive baby wipes can further irritate skin that is already raw and inflamed. The only wipes I found gentle enough to use, and only with a very light dabbing motion, were WaterWipes, which are 99.9% water.
Once your baby is clean and hopefully feeling a little happier from the warm bath, carefully remove them from the tub. Using the softest towel or burp cloth you have, gently blot the diaper area dry. If the area is especially sensitive, you can skip touching it altogether and fan the skin dry with a clean diaper.
Now for the four steps that truly made the biggest difference for us.
Step 1: Create a Protective Base Layer
If your baby has a yeast infection and has been prescribed Nystatin or another medicated antifungal ointment, apply that first using a clean diaper cream spatula. This allows the medication to make direct contact with the affected skin.
If your baby does not have a yeast infection, apply a generous layer of Vaseline instead. The goal of this first layer is to create a protective barrier between your baby’s irritated skin and the products that will be applied in the next steps.
Be gentle during application. If the area is extremely painful, spreading the ointment with a clean spatula can be much more comfortable than rubbing it in with your fingers.
Step 2: Add Ostomy Powder
Next, apply an even layer of stoma or ostomy powder over the affected area. This powder acts as a protective skin barrier while helping keep the area as dry as possible.
Some people recommend using cornstarch for diaper rashes, but I personally found ostomy powder to be much more effective. Cornstarch can hold moisture, whereas ostomy powder is specifically designed to absorb moisture and protect damaged skin.
Keeping the area dry is incredibly important because diaper rashes—especially yeast infections—thrive in warm, moist environments. The goal of this step is to create a dry surface that will help the skin heal while preventing further irritation.
Step 3: Create the “Crust”
This step may sound a little silly, but it’s one you don’t want to skip.
Using a slightly damp washcloth, bath towel, or even the clean disposable pad that sits on top of your changing pad, gently blot the diaper area. The goal is not to wipe away the ostomy powder. Instead, you’re helping the powder adhere to the Vaseline or prescribed medicated ointment underneath.
Think of this step as creating the “crust” of the cake-and-crust method. Once the powder sticks to the base layer, it creates an additional protective barrier that helps shield your baby’s irritated skin from moisture and further irritation.
Step 4: Frost the Cake
Lastly, apply a 40% zinc oxide diaper cream in a very thick layer—think frosting on a cake. Don’t rub it in completely. Instead, gently spread it over the crust you’ve created in the previous steps, making sure the irritated skin is well covered.
This final layer serves as a protective shield between your baby’s skin and anything that could further irritate it, including urine, stool, and friction from the diaper.
Once all three layers are in place, go ahead and re-diaper that baby—you’ve officially completed the cake-and-crust method!
Tips:
- Because my baby has extremely sensitive skin and is highly prone to diaper rashes and yeast infections, I use this method every single night with Vaseline as the base layer (only use Nystatin or another prescribed medicated ointment when treating an active yeast infection). Since starting this routine, diaper changes have become much less painful for my baby, and we’ve been able to stop many rashes before they become severe. Applying this method at night has been especially helpful because it protects her skin during the longest stretch she goes without a diaper change.
- If your baby has a yeast infection, be sure to either thoroughly wash your diaper cream spatula with soap and water or use a new one. Don’t rely on simply wiping the spatula clean while the infection is active.
- Try your hardest to avoid using wipes on severely irritated skin. If you absolutely must use a wipe, use a gentle dabbing motion rather than wiping. In my experience, a warm bath or a peri bottle is the gentlest way to clean the area.
- Don’t underestimate the power of distraction! Sing your baby’s favorite song, make silly faces, or even play a short cartoon on your phone while applying the layers. Not only can it make the process easier, but baby giggles are always a win. 🩷
